INFRA/Locations: Difference between revisions
Jump to navigation
Jump to search
m (Alcista Building link) |
CitadelCore (talk | contribs) (Added Part 3 maps.) |
||
| Line 149: | Line 149: | ||
| colspan="4" style="text-align:center;" |Part 3 | | colspan="4" style="text-align:center;" |Part 3 | ||
|- | |- | ||
| | |[[File:Powerstation2.jpg|200x200px]] | ||
| | |Destroyed Power Station | ||
| | |[[powerstation2]] | ||
|8: Late for a Meeting | |8: Late for a Meeting | ||
|- | |- | ||
| | |[[File:Isle1.jpg|200x200px]] | ||
| | |Isle | ||
| | |[[isle1]] | ||
|8: Late for a Meeting | |8: Late for a Meeting | ||
|- | |- | ||
| | |[[File:Isle2.jpg|200x200px]] | ||
| | |Isle | ||
| | |[[isle2]] | ||
|8: Late for a Meeting | |8: Late for a Meeting | ||
|- | |- | ||
| | |[[File:Isle3.jpg|200x200px]] | ||
| | |Isle | ||
| | |[[isle3]] | ||
|8: Late for a Meeting | |8: Late for a Meeting | ||
|- | |- | ||
| | |[[File:Business.jpg|200x200px]] | ||
| | |Stalburg Business District | ||
| | |[[business]] | ||
|8: Late for a Meeting | |8: Late for a Meeting | ||
|- | |- | ||
| | |[[File:Business2.jpg|200x200px]] | ||
| | |Business Metro Station | ||
| | |[[business2]] | ||
|8: Late for a Meeting | |8: Late for a Meeting | ||
|- | |- | ||
| | |[[File:Officeblackout.jpg|200x200px]] | ||
| | |[[Office#alcista_building|Alcista Building]]: | ||
| | * Blackout Meeting | ||
|8: Late for a Meeting | |[[officeblackout]] | ||
|8: Late for a Meeting | |||
|- | |- | ||
| | |[[File:Rails.jpg|200x200px]] | ||
| | |Turnip Hill Entrance | ||
| | |[[rails]] | ||
| | |9: To Save a City | ||
|- | |- | ||
| | |[[File:Tenements.jpg|200x200px]] | ||
| | |Turnip Hill | ||
| | |[[tenements]] | ||
|9: To Save a City | |9: To Save a City | ||
|- | |- | ||
| | |[[File:River.jpg|200x200px]] | ||
| | |River | ||
| | |[[river]] | ||
|9: To Save a City | |9: To Save a City | ||
|- | |- | ||
| | |[[File:Villa.jpg|200x200px]] | ||
| | |Walter's Villa | ||
| | |[[villa]] | ||
|9: To Save a City | |9: To Save a City | ||
|- | |- | ||
| | |[[File:Field.jpg|200x200px]] | ||
| | |Wheat Fields | ||
| | |[[field]] | ||
|9: To Save a City | |9: To Save a City | ||
|- | |- | ||
| | |[[File:NPP.jpg|200x200px]] | ||
| | |Nuclear Power Plant | ||
| | |[[npp]] | ||
| | |10: Redemption | ||
|- | |- | ||
| | |[[File:Reactor.jpg|200x200px]] | ||
| | |Nuclear Reactor | ||
| | |[[reactor]] | ||
|10: Redemption | |10: Redemption | ||
|- | |- | ||
| | |[[File:Roof.jpg|200x200px]] | ||
| | |Reactor Building Roof | ||
| | |[[roof]] | ||
|10: Redemption | |10: Redemption | ||
|- | |- | ||
| | |[[File:Ending_1.jpg|200x200px]] | ||
| | |Bad Ending | ||
| | |[[ending_1]] | ||
|11: Epilogue | |11: Epilogue | ||
|- | |- | ||
| | |[[File:Ending_2.jpg|200x200px]] | ||
| | |Good Ending | ||
| | |[[ending_2]] | ||
|11: Epilogue | |11: Epilogue | ||
|- | |- | ||
| | |[[File:Ending_3.jpg|200x200px]] | ||
| | |Really Bad Ending | ||
| | |[[ending_3]] | ||
|11: Epilogue | |11: Epilogue | ||
|- | |- | ||
|} | |} | ||
Revision as of 09:30, 28 September 2017
| Screenshot | Significant Locations | Map Name | Chapter |
|---|---|---|---|
| Part 1 | |||
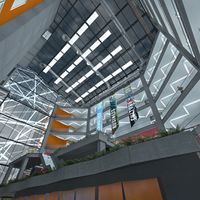
|
|
office | 1: Preparations |
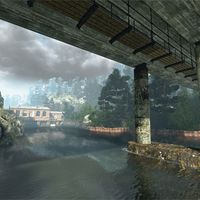
|
Old Power Plant Morning Wood Co. Shack Top of the Hammer Valley Dam |
reserve1 | 2: Just Another Day at Work |
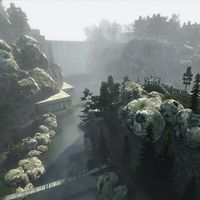
|
Bottom of the Hammer Valley Dam Sawmill |
reserve2 | 2: Just Another Day at Work |
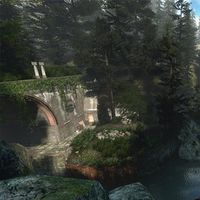
|
Entrance to the Bergmann Water Tunnels | reserve3 | 2: Just Another Day at Work |
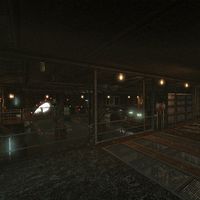
|
Bergmann Water Tunnels | tunnel1 | 3: Forgotten World |
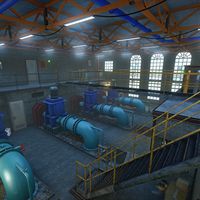
|
Pine Fell Water Plant | tunnel2 | 3: Forgotten World |
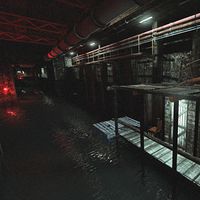
|
Bergmann Water Tunnels (cont.) | tunnel3 | 3: Forgotten World |
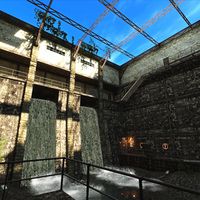
|
Bergmann Water Tunnels (cont.) | tunnel4 | 3: Forgotten World |
|
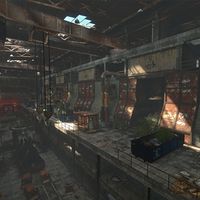
Stalburg Steel Factory | furnace | 4: Heavy Industry of the Past |
|
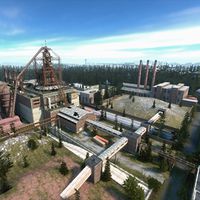
Top of the Stalburg Steel Factory | tower | 4: Heavy Industry of the Past |
|
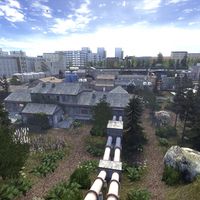
Pitheath Water Treatment Plant | watertreatment | 5: Fresh Water |
|
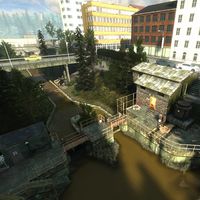
Hackers Den |
sewer | 5: Fresh Water |
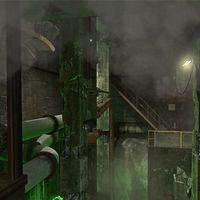
|
Control Room | sewer2 | 5: Fresh Water |
| Part 2 | |||
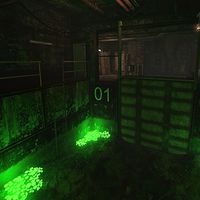
|
Extended Sewer | sewer3 | 6: Public Transport |
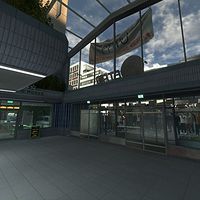
|
Pitheath Metro Station | metro | 6: Public Transport |
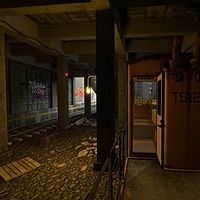
|
Metro Tunnels | metroride | 6: Public Transport |
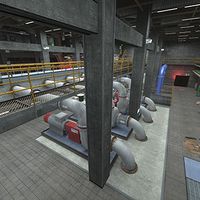
|
Underground Water Plant | waterplant | 6: Public Transport |
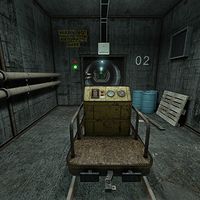
|
Minitrain Tunnels | minitrain | 6: Public Transport |
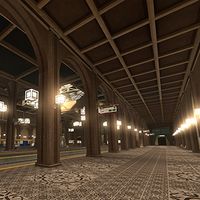
|
Central Metro Station | central | 6: Public Transport |
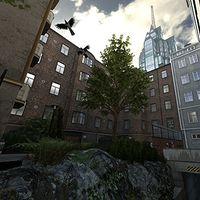
|
Service Tunnels | servicetunnel | 7: Working Overtime |
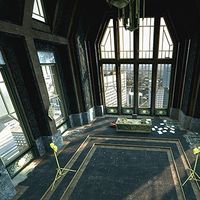
|
Walter's Skyscraper | skyscraper | 7: Working Overtime |
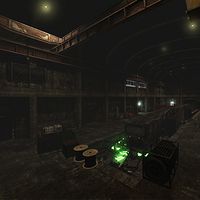
|
SNW Bunker | bunker | 7: Working Overtime |
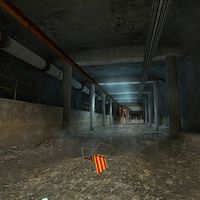
|
Storm Drain | stormdrain | 7: Working Overtime |
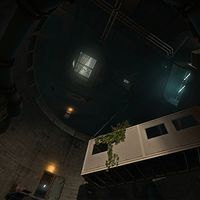
|
Storm Drain Cistern | cistern | 7: Working Overtime |
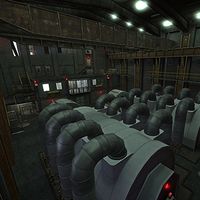
|
Coal Fired Power Station | powerstation | 7: Working Overtime |
| Part 3 | |||
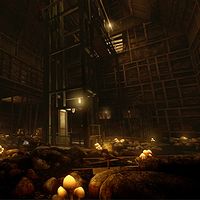
|
Destroyed Power Station | powerstation2 | 8: Late for a Meeting |
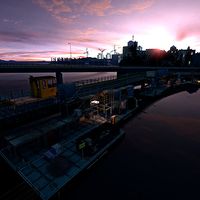
|
Isle | isle1 | 8: Late for a Meeting |
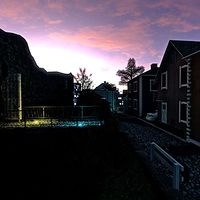
|
Isle | isle2 | 8: Late for a Meeting |
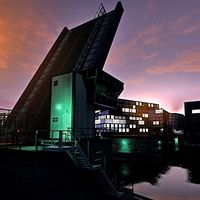
|
Isle | isle3 | 8: Late for a Meeting |
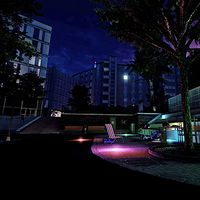
|
Stalburg Business District | business | 8: Late for a Meeting |
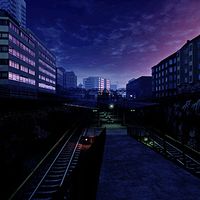
|
Business Metro Station | business2 | 8: Late for a Meeting |
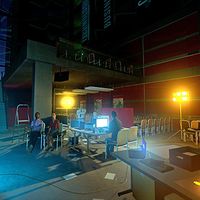
|
Alcista Building:
|
officeblackout | 8: Late for a Meeting |
|
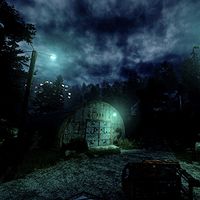
Turnip Hill Entrance | rails | 9: To Save a City |
|
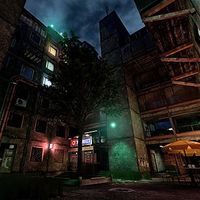
Turnip Hill | tenements | 9: To Save a City |
|
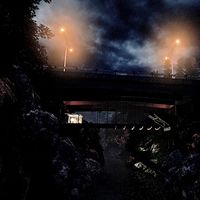
River | river | 9: To Save a City |
|
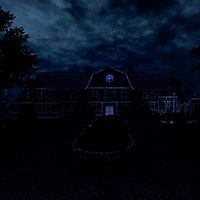
Walter's Villa | villa | 9: To Save a City |
|
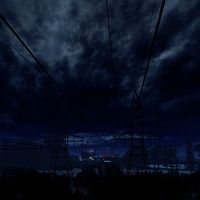
Wheat Fields | field | 9: To Save a City |
|
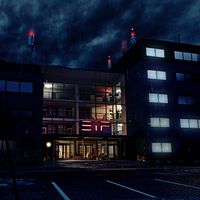
Nuclear Power Plant | npp | 10: Redemption |
|
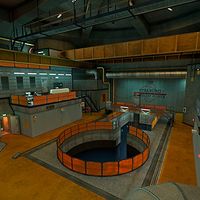
Nuclear Reactor | reactor | 10: Redemption |
|
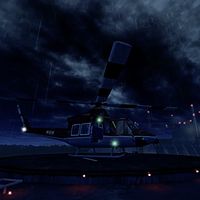
Reactor Building Roof | roof | 10: Redemption |
| File:Ending 1.jpg | Bad Ending | ending_1 | 11: Epilogue |
| File:Ending 2.jpg | Good Ending | ending_2 | 11: Epilogue |
| File:Ending 3.jpg | Really Bad Ending | ending_3 | 11: Epilogue |